Showing posts with label before and after. Show all posts

Tuesday, August 4, 2009

Before and After: Accent Wall

A while back, I saw a picture online of a black and white striped accent wall in an entryway. I loved the look, so last weekend I set out to replicate the look in our house. Matt was out of town (painting is my favorite way to pass the time while he's gone) so Jen came over and assisted.

Here's the wall before:


And after:


I've hated the dingy looking kitchen paint since we moved into the house. It just seemed like a dead spot in our otherwise vibrant color palette. The cabinets, backsplash and tile are all a little on the dark side so I didn't want to paint the kitchen walls solid red to match the rest of the house.

I started by painting the creamy off-white kitchen walls a stark white. Then we used a laser-level and painter's tape to tape off 4 inch wide red stripes on this narrow section of wall. The overall effect makes the narrow section of wall look a lot wider and the ceiling look taller, something I wasn't expecting to happen.

I really love the stripes but I'm not completely thrilled with the white paint in the rest of the kitchen. It looks like we primed and then forgot to paint. There isn't really a lot of wall place once you factor in the back door, windows and cabinets, so I thought it might be cool to paint red vertical stripes in the other wall. But I want to avoid making the kitchen look like the inside of a circus tent. (My dad already asked me if calliope music plays when you walk in the door.)

Monday, June 15, 2009

Out of the Closet

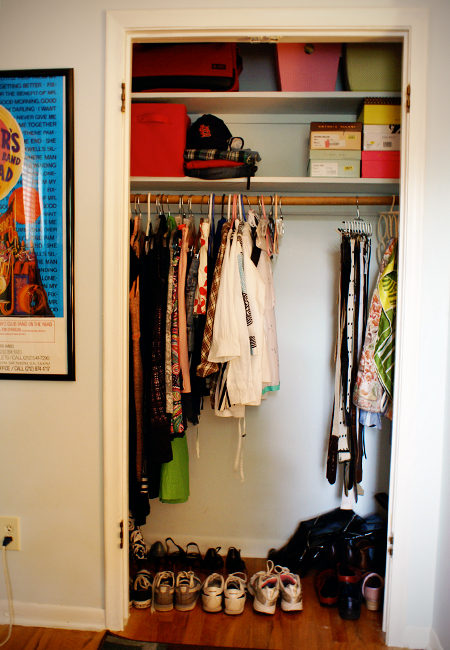
I took the doors off the closet to refinish them and I had two very alarming thoughts.


1. That is one messy closet. It's going to be a few days before the door get put back on so maybe now is a good time to clean it out.


(That tis but a fraction of the shoes I own.)

2. Wow, that is one little (but now very unmessy) closet. Who in their right minds would make a master bedroom's closet that freaking small? Oh wait, people in the 1960s, that's who. Because forty years ago Americans weren't the giant clothes whores they all are now. At one time that was adequate wardrobe space for two adults.

As a result of refinishing my closet doors, I ended up purging three or four big bags of clothes I decided I no longer need. Lucky for me and my tiny closet, one of the side effects of being a broke homeowner on the verge of late-twenties is that I've aged past the point of wearing half the crap I bought when I was 20 and I'm too poor to go out and buy new stuff. Look at all that spare closet spare!

Friday, May 22, 2009

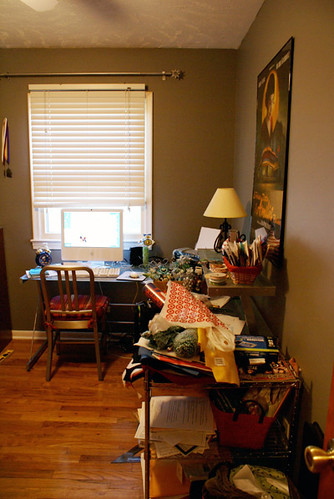
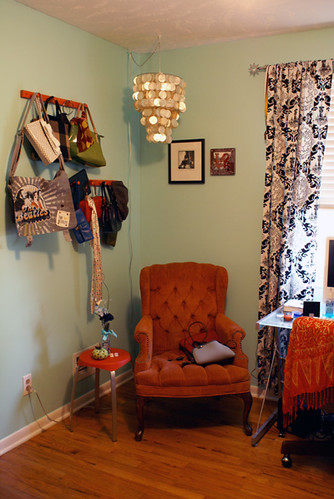
Before and After: Office

I've given up on waiting until the office is clean to photograph it and post it. In the past 14 months we've lived there, it has never been cleaner than it is right now as evidenced by the following photos.

Before:


After:


I've realized throughout the course of this blog that I am terrible at taking pictures of the inside of our house. I'm terrible at taking pictures of lots of things, but this is probably the worst. I don't know what it is. You can tell me to take a picture of a kid or a plant and I get it. Tell me to take a picture of a room and my brain goes, "What? What do you mean? How? Huh?"

Saturday, May 2, 2009

My Chairs - With a Quick Tutorial

I have been working and working and working on these stupid chairs for weeks. I had grand plans of doing a really awesome tutorial about refinishing chairs (because you obviously can't figure it out on your own). But, plans sometimes change...

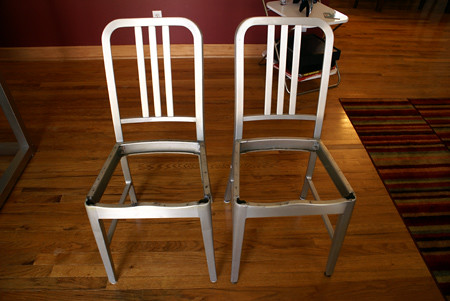
I started out with this. Or rather "these." There are two of them.


I took the frames and sanded, primed and spray painted them. Easy enough...


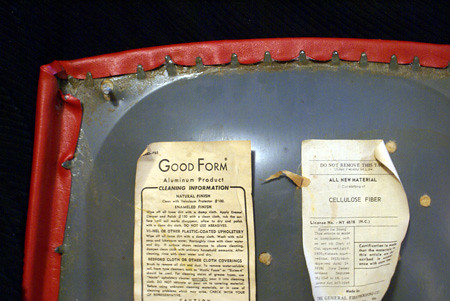
...and then noticed that, gee, the seats are metal too.


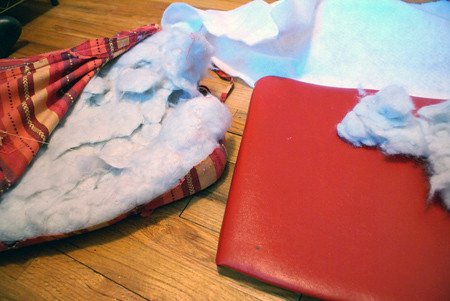
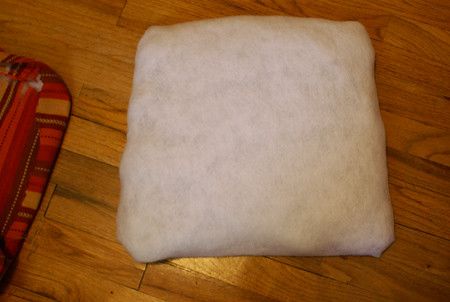
It's kind of hard to staple fabric onto a metal chair seat. I spent a couple weeks contemplating it before I decided that heavy-duty industrial adhesives were the answer. I bought a sheet of quilt batting and adhered it to three sides of the seat. Then I frankensteined an old cushion into filling for a new one.


And glued the fourth side down.


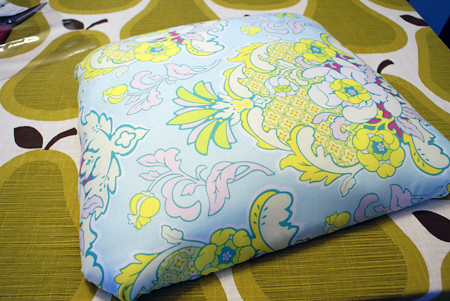
Then stretched my fabric over the new seat and cushion I made.


Wow! How great do those look!


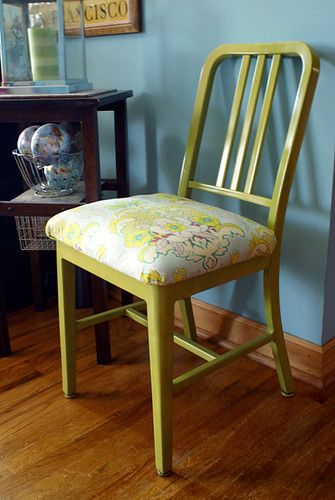
Oh, but wait. One small problem. I can't screw the seat back onto the frame. The fabric is stretched over the groove that needs to be touching the frame. If I try to screw it on, the fabric is going to rip. So, right now the seat is just perched there on top of the chair. I wouldn't recommend sitting on it, but doesn't it look nice?


Remember how there are two chairs? Here's what became of chair number two:


DUH! A freaking chair cushion! The obvious (and easy) solution from the beginning. I could have just put a damn chair cushion on it and been done with it. This one just happens to match everything in the house. Imagine that. It even unintentionally matched the paint on the chair. It was kismet, me and that cushion.

In summary, here is how my tutorial for refinishing chairs goes:

1. Take the seat off the frame and paint the frame.
2. Put the seat back on the frame and slap a cushion on it.
3. Go have a beer because you're done.

Thursday, April 16, 2009

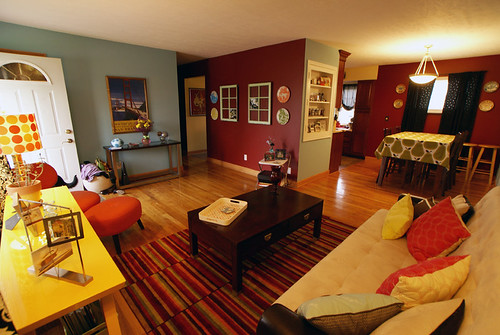
Update On the Living Room

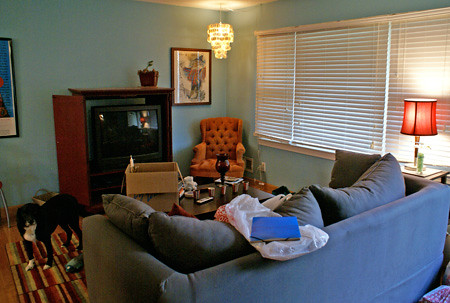
We (I) started working on fixing up our living room back in September. This is what we started with...


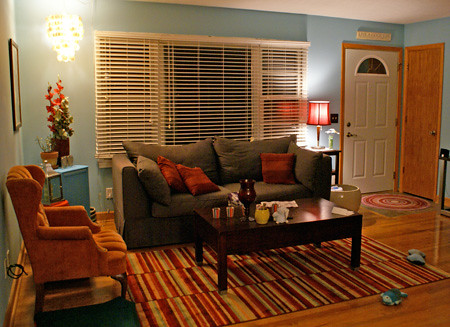
We rearranged it a couple of times...


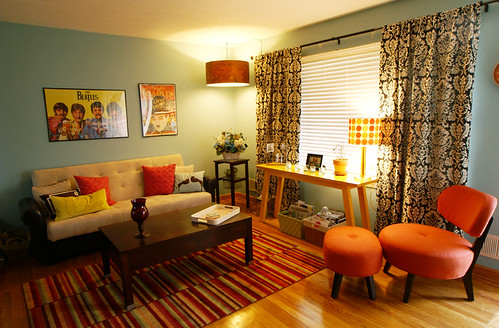
And this is where we're at right now.


If I had more money I would continue to fill the room with furniture.

I. Love. Furniture.

I think the room still needs more texture too. Another rug, maybe some wallpaper... It just needs more. The room is really open so I kind of throws me off. An interior decorator I never claimed to be.

It feels like our home though. It's definitely a room that looks like Matt and Christine live in.